(EN) SKYPE EMPRESARIAL UV - Installation and configuration
Skype Empresarial in the UV.
Skype Empresarial is a Microsoft software for the realization of videoconferences or video calls that allows us to connect with colleagues or external personnel to our University anywhere in the world. To maintain these videoconferences it is necessary to install the software on our computer and we could hold meetings, tutorials, etc. with our webcam and microphone.
In Skype for Business we can:
- Start conversations through instant messaging, voice calls and video calls.
- See when our contacts are available online, in a meeting or in a presentation.
- Present our screen during the sessions or grant control to other participants.
- Use Skype for Business from other Office programs to chat, call, or join an active meeting.
To be able to use this software previously you need to have an active Office 365 account or create a new one.
When creating a new one, it is recommended to choose our email address (eg name.surname@uv.es) and a different password - in any case - from our official UV account.
In the following link we find the instructions on how to create said
account or install Office 365.
{+}https://angela.uv.es/pages/viewpage.action?pageId=14004566+
Skype for Business can be installed in two ways:
- As part of the Office 2016 suite. If we already have Office 2016 installed on our computer, by default we will have Skype Empresarial installed and we can go directly to the Configuration section of this document.
- As an independent program within the Office 365 suite. (Below)
Installation from Office 365
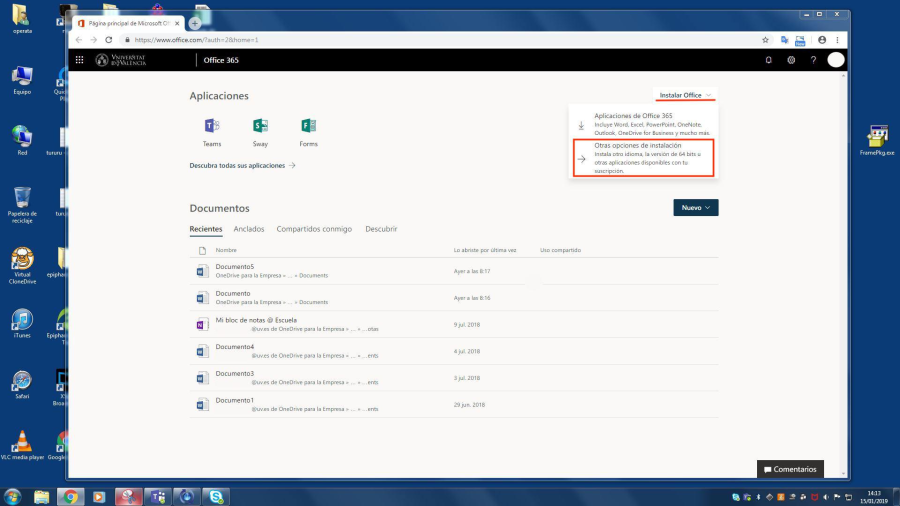
We will access the web portal.office.com and we will identify with the credentials of our user in Office 365.
Once inside select: Install Office Other installation options
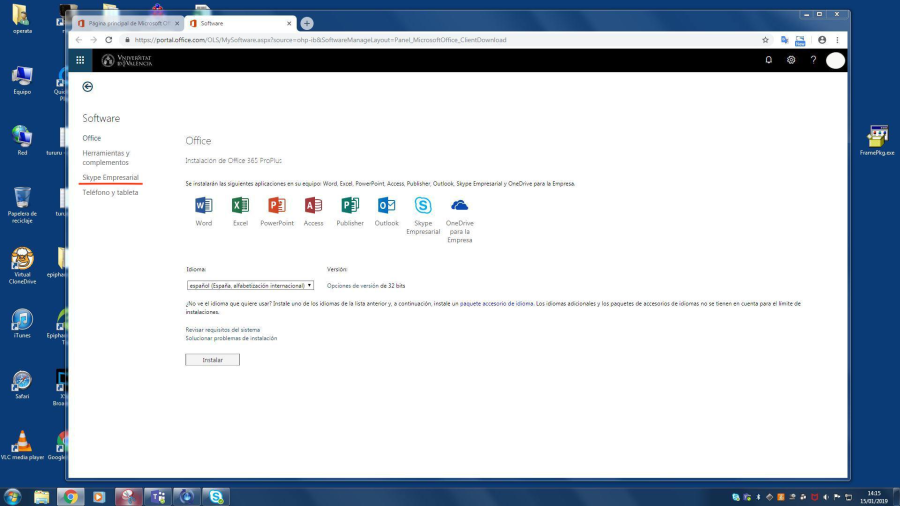
We will select Skype for Business in the menu on the left ...
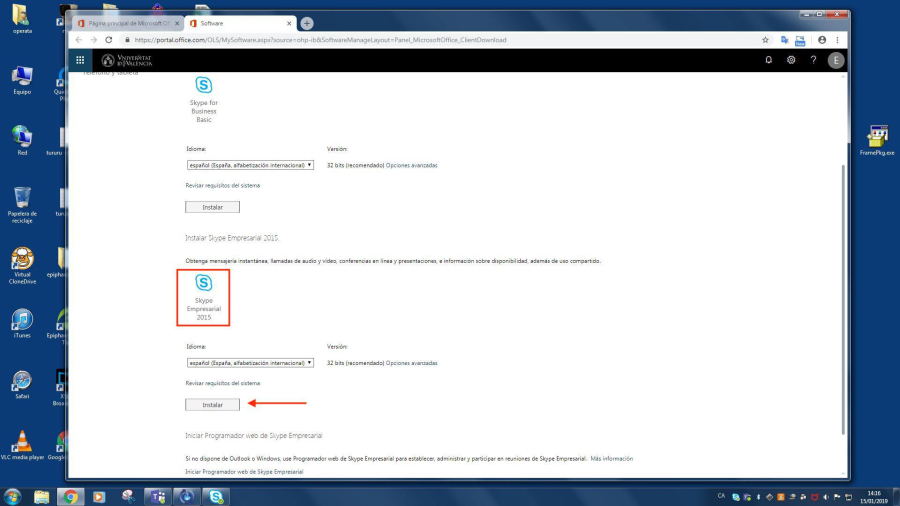
And then we'll choose Skype for Business followed by the "Install" button.
Users of OS OS X Operating System:
No additional configuration is required. The application is run and the user's personal Office 365 credentials are entered.
Users of Windows Operating System:
The user must make a small change in the configuration. Below, we show the screenshots of the steps to be taken.
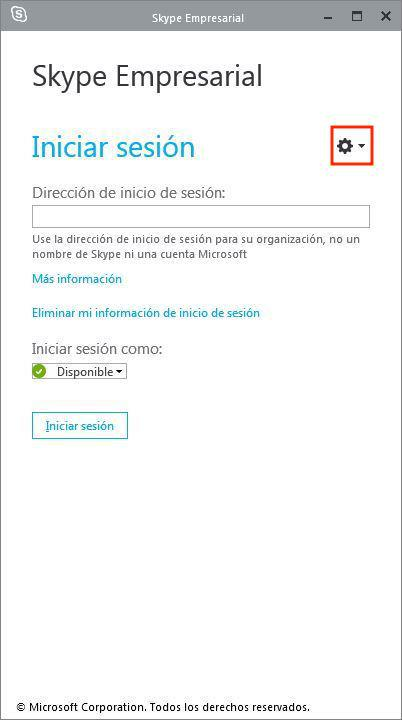
First the application has to be executed, and we will press first on the configuration wheel that we indicate in the following image
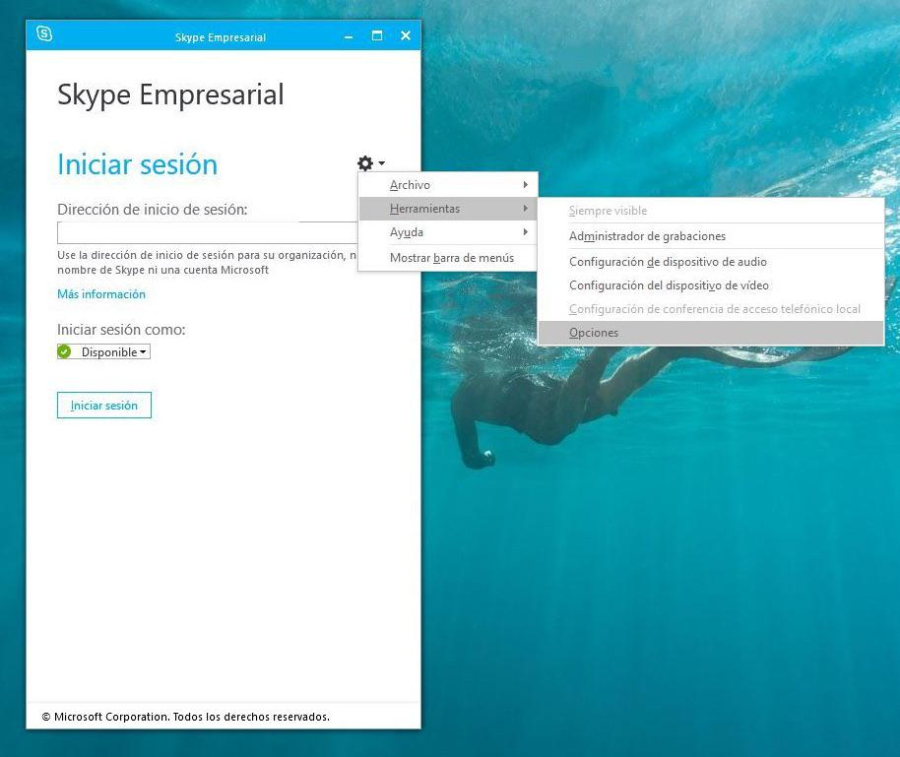
Next we will select "Tools" - "Options"
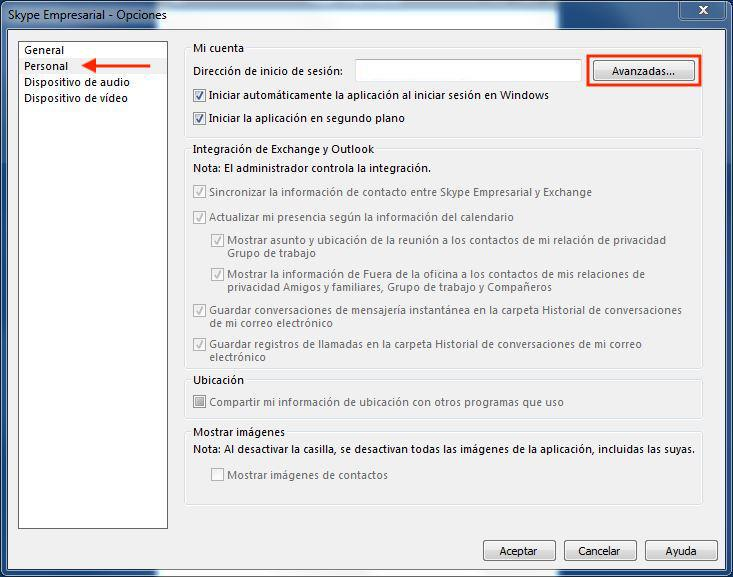
And in the window that opens we will choose "Personal" in the menu on the left, followed by the "Advanced" button
We choose "Manual configuration"

And we introduce the following server names:
Name of the internal server: sipdir.online.lync.com:443
External server name: sipdir.online.lync.com:443
Followed by the "Accept" button.
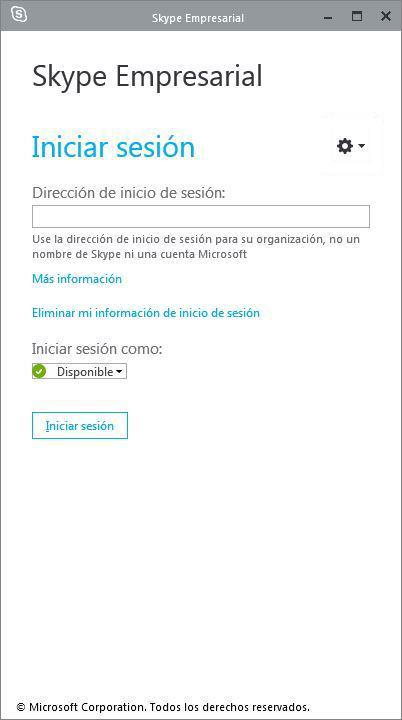
With this we would have done the configuration of the program. It would only be necessary to identify ourselves with our user (Login address), click on "Login" and then we will be asked for the password.
Note: This Skype service is provided by Microsoft, so you must use the username and password that we have previously chosen to create the Office 365 account or access
{_}{+}https://portal.office.com+_ (which logically will be different to those used for the intranet or the University account).
| Rev: | 2019 / 03 |
| Lang. | |
| +Info | |
| Form.: | |
|
- (EN) SKYPE EMPRESARIAL UV - Installation and configuration
- (EN) SKYPE EMPRESARIAL UV - Configure Audio
- (EN) SKYPE EMPRESARIAL UV - Configure Video
- (EN) SKYPE EMPRESARIAL UV - Add a contact
- (EN) SKYPE EMPRESARIAL UV - Make and receive calls
- (EN) SKYPE EMPRESARIAL UV - Make and receive video calls
- (EN) SKYPE EMPRESARIAL UV - Chat
- (EN) SKYPE EMPRESARIAL UV - Instant messages
- (EN) SKYPE EMPRESARIAL UV - Share screen
- (EN) SKYPE EMPRESARIAL UV - Share and schedule
- (EN) SKYPE EMPRESARIAL UV - Record and play
- (EN) SKYPE EMPRESARIAL UV - Record Manager
SERVEI D'INFORMÀTICA - UNIVERSITAT DE VALÈNCIA